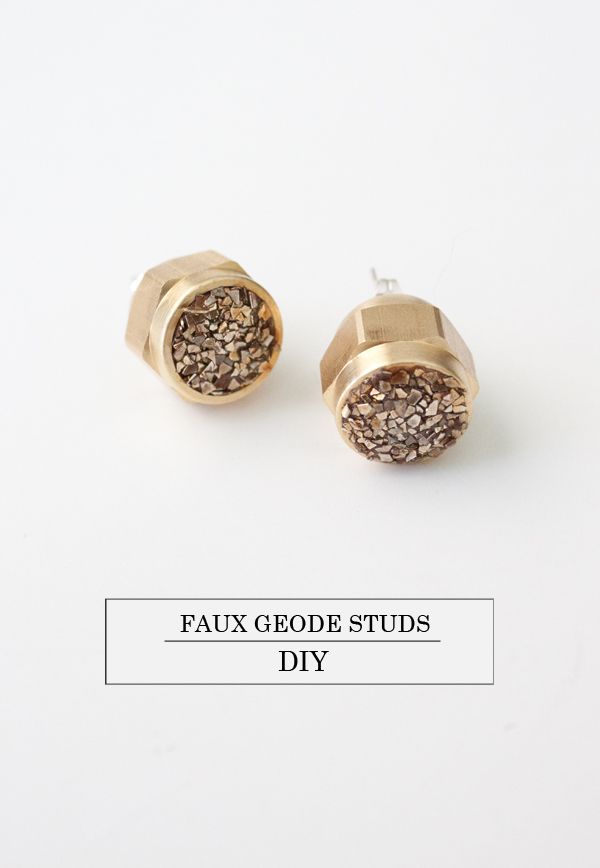
My love affair with clay seems to still be going strong, this time in the form of faux geode studs... Seriously though, how cute are they? I think my favourite thing about them is the fact that they required a trip to the hardware store (uncharted territory!), yet the finished product is as prim and proper as can be... Go figure. So grab your flare caps (I'm as lost as you are) and your glitter, because we're getting our geodes on today, ladies!
SUPPLIES: FIMO CLAY | GLASS GLITTER | FLARE CAPS | E-6000 GLUE | EARRING POSTS AND BACKS
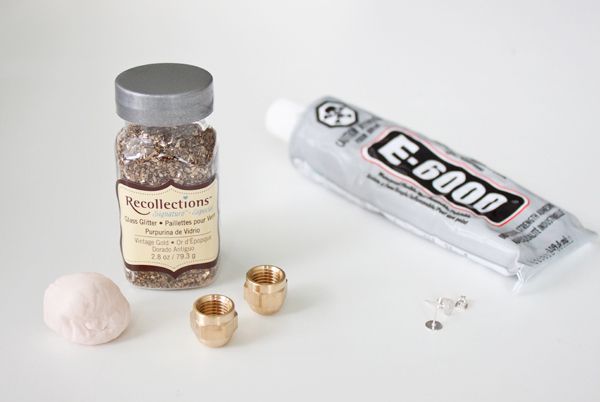
TIME: 1.5 HOURS (WITH DRY TIME) | DIFFICULTY LEVEL: EASY
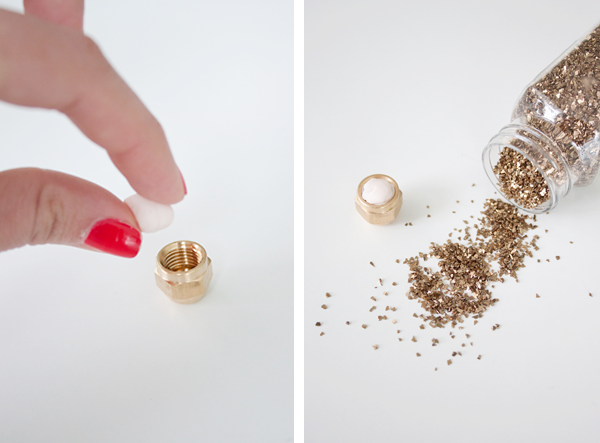
As always, start by massaging your FIMO clay slightly to soften it up... We want it to adhere to as much of the glitter as possible, so don't skip this step. Once that's done, place a small amount of the clay into each flare cap and press down slightly.
TIP: Buy the smallest flare caps available, otherwise they'll be too heavy to sit on your ear lobes properly.
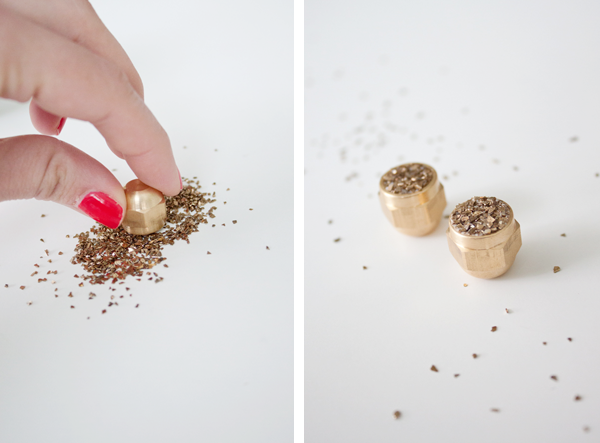
Using glass glitter (I found mine at Michaels), press the clay onto the glitter, taking care to ensure that the FIMO is entirely coated. Once you're satisfied with how your studs-to-be look, pop them into the oven (yup, flare cap and all!) and bake them as per the package instructions (about 30 minutes).
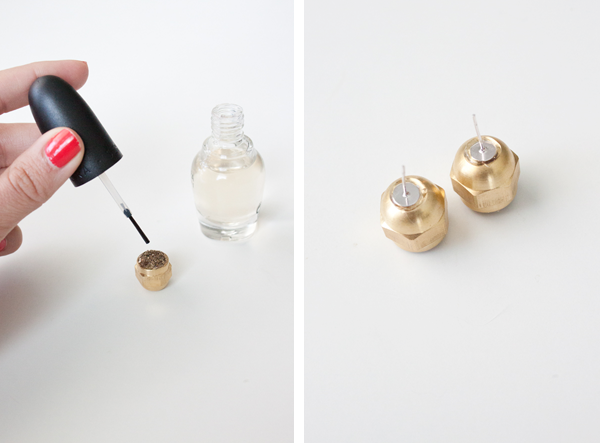
Once everything has fully cooled, apply a generous coat of clear nail polish or Mod Podge to the glitter to help keep it in place. When that dries, glue your earring posts to the back of your new studs, and that's it! How easy is that?
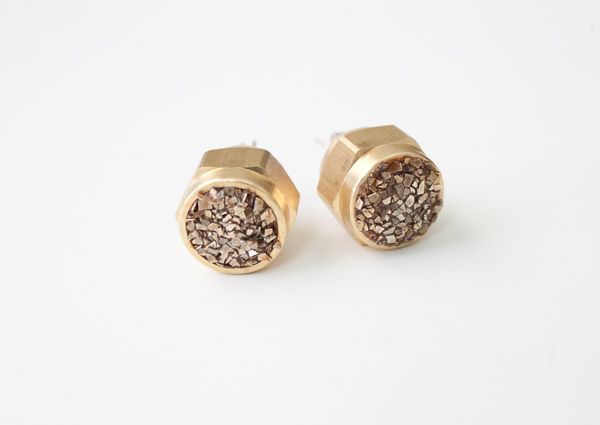
Thanks for reading lovelies, and if you liked this DIY, feel free to share it! And as always, if you decide to give this project a try, I'd love to see how it turned out... Happy Tuesday, everyone! xx
No comments:
Post a Comment