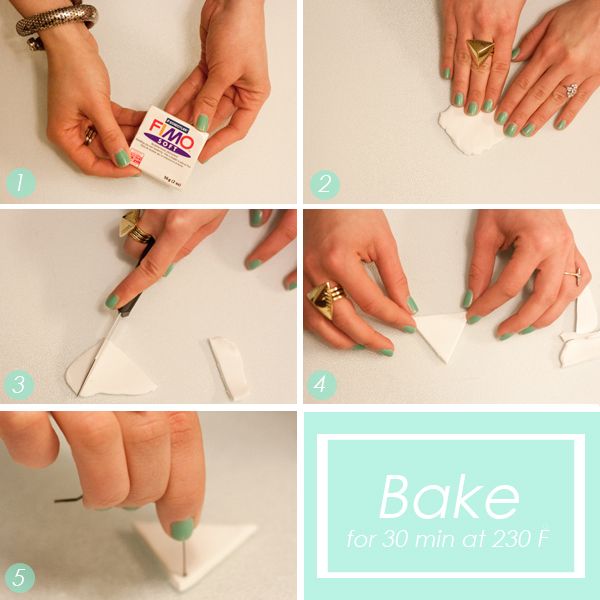
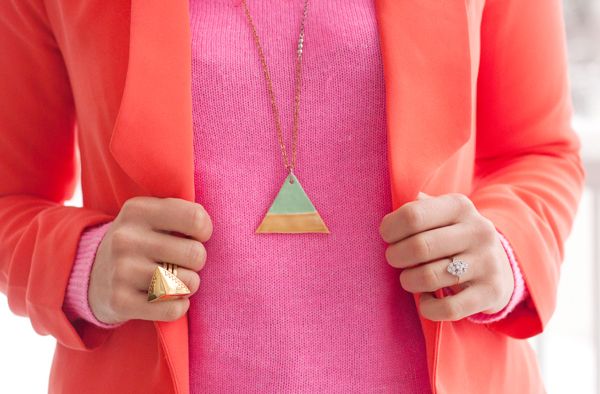
My baking clay obsession is alive and well, and has manifested itself as a faux crystal pendant this time around... #cantstopwontstop. I'm so in love with how this project turned out and just can't get over the transformative power of gold leaf — not to mention the fact that the way it catches the light is totally mesmerizing. Sound like something you might like to make/wear/stare at? Read on for full instructions!
SUPPLIES: FIMO CLAY | GLASS GLITTER | GOLD LEAF PEN | SCULPTING TOOL | PLIERS | EYE PIN | JUMP RINGS | CHAIN | CLASPTIME: 1 HOUR | DIFFICULTY: MODERATEStart by rolling the clay between the palms of your hands to loosen up the material. Slowly mold it into your desired shape, and once you're happy with the look and size of the pendant, chisel little pieces out of the clay to resemble crystal formation.
When you're happy with the overall look of the pendant, carefully cover the clay with clear glass glitter. You're going to want to cover it completely, so take your time and slightly push the glass into the clay to help it stay in place. Once evenly coated, insert an eye pin into the top of the pendant and press down until only the loop is visible.
Bake the pendant in the oven according to package instructions for about 30 minutes, then allow it to cool fully. I love this part because the clay takes on a darker hue, especially around the edges, and the glass really shines through. To keep all those little shards of glass in place — and to add a little extra shine — apply a generous coat of clear nail polish over the entire surface.
When the varnish dries completely, it's time for the fun part — gold leafing! I'm seriously obsessed with my gold leaf pen and have no idea how I've made it this far in life without one before. Simply apply a thin, even layer of the stuff onto the top of the pendant and watch it transform from
blah to
bananas in no time...
magnifique!
Once everything is nice and dry, add jump rings and a clasp to your chain, then attach your snazzy new pendant to it using a large jump ring...
Done like dinner.
Thanks for reading friends, and if you're looking for more DIY ideas incorporating baking clay (
I'm obsessed), click
here,
here and
here! xx
Photos by Adventures in Fashion