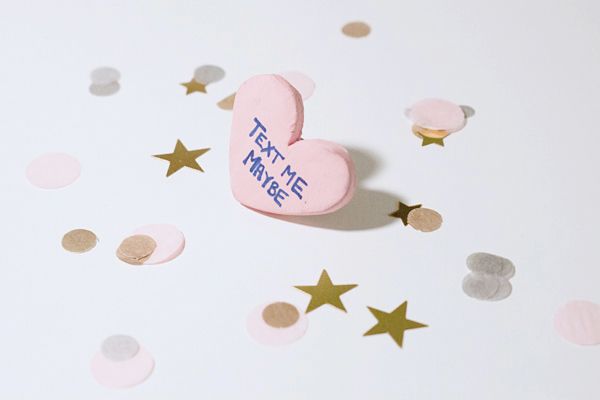
I'm a total sucker for conversation heart candy (but really, who isn't?), so I thought it would be fun to make a ring of my favourite Valentine's treat. It's fun, easy and a super cute way to embrace this time of the year, so if you want to be a cheeseball and join the fun, here's what you've got to do!
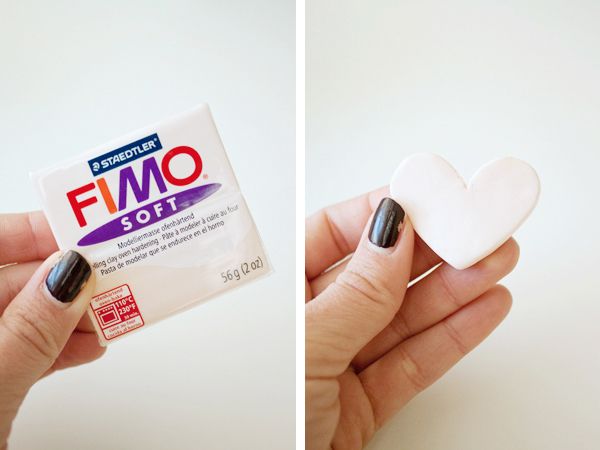
Using soft FIMO clay, warm a small piece between your hands for a few minutes to make it malleable. Roll out the clay and smooth any bumps or ridges from the surface. Using a knife, cut out a heart shape, working the edges so they're smooth and the heart is symmetrical.
When you're happy with your shape, pop that bad boy in the oven and bake it following the package instructions (mine took about 30 minutes to harden). Once that's done, allow the shape to cool fully.
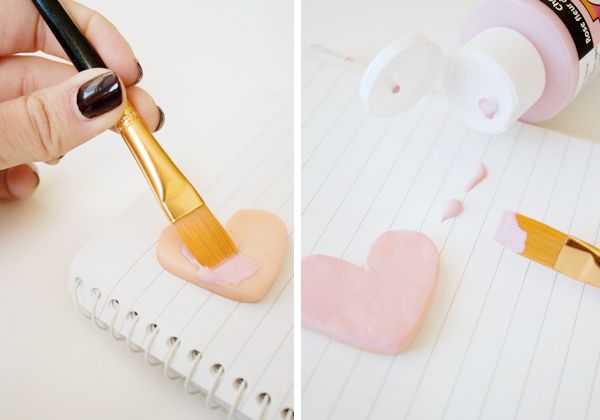
From there, paint the heart using an acrylic paint (you could even use nail polish!). I chose light pink because it reminds me most of the candy, but you can get as creative as you like with this one. Once dry, use a felt tipped pen to write your message. I had a hard time choosing between "Cute Tush," "Hollah At Your Girl" and this one, but "Text Me Maybe" won out in the end, hands down.
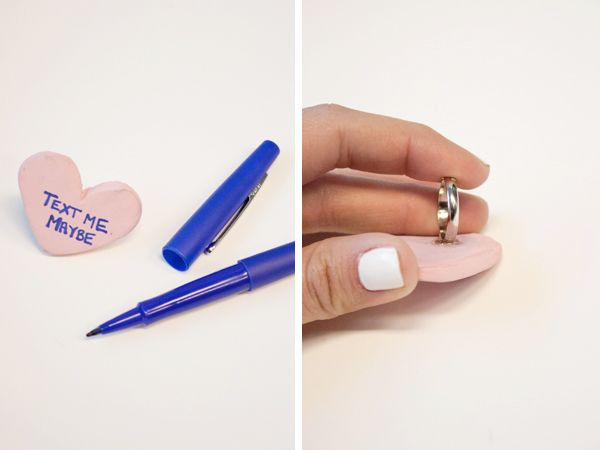
Let the ink dry for as long as possible to avoid smudging, then glue a ring to the back of the heart, pressing firmly for about 30 seconds to adhere... How easy is that? xx
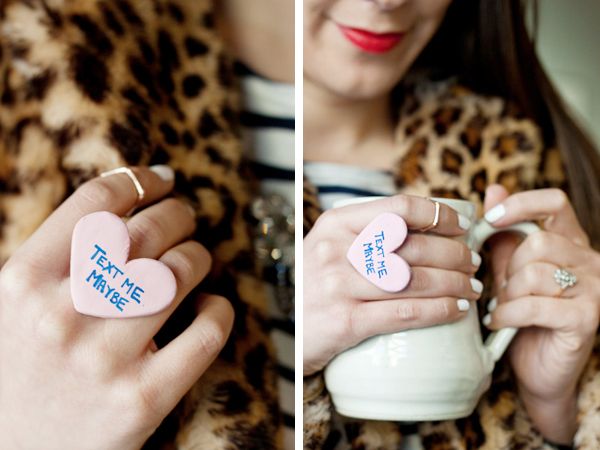
Final photo by Sam Brooks
No comments:
Post a Comment